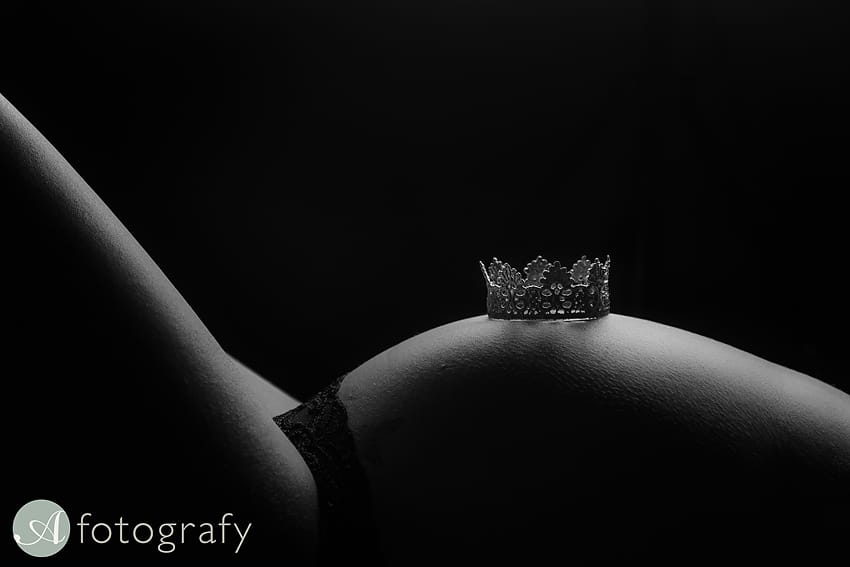
Great ideas on how to DIY Maternity Shoot at Home.
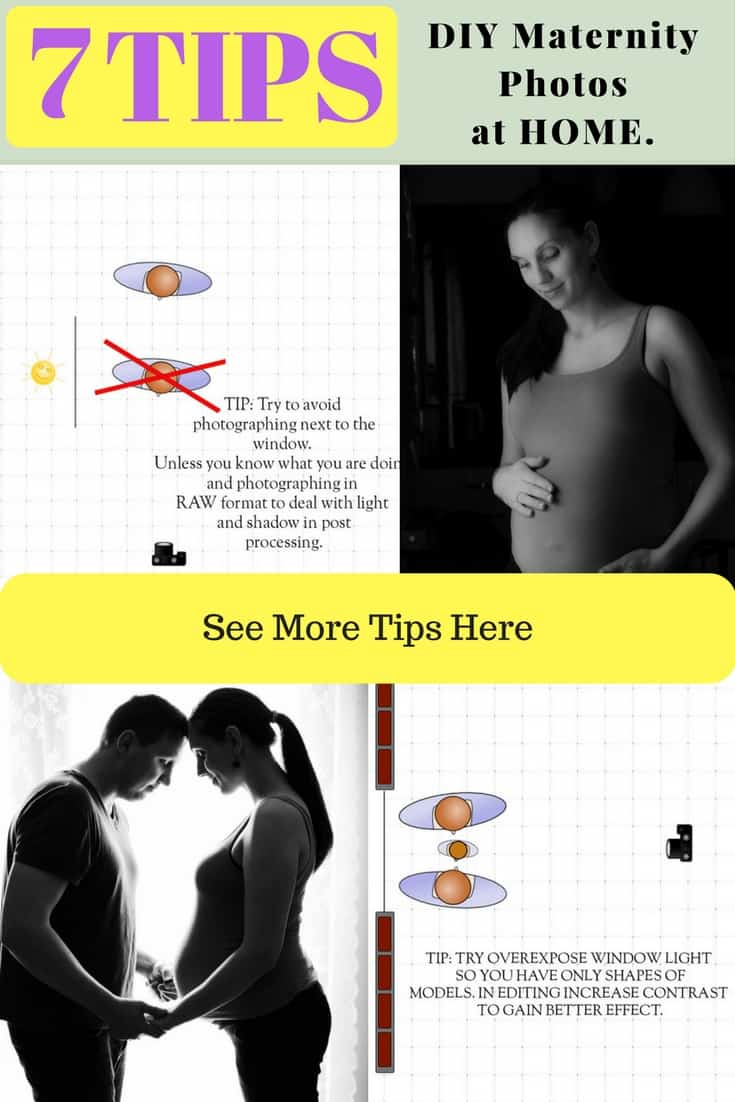
Not sure about heading to a professional studio and getting a set of maternity portraits done?
Today we will talk about how to take maternity photos at home. A little DIY project for you. Possibly discuss maternity photoshoot ideas with husband. Get him involved.
The idea of sharing tips for creating simple DIY maternity portraits has been lingering on my mind for the past year or so. Finally, along with undertaking another big maternity project, I decided that it’s the perfect time to release this material.
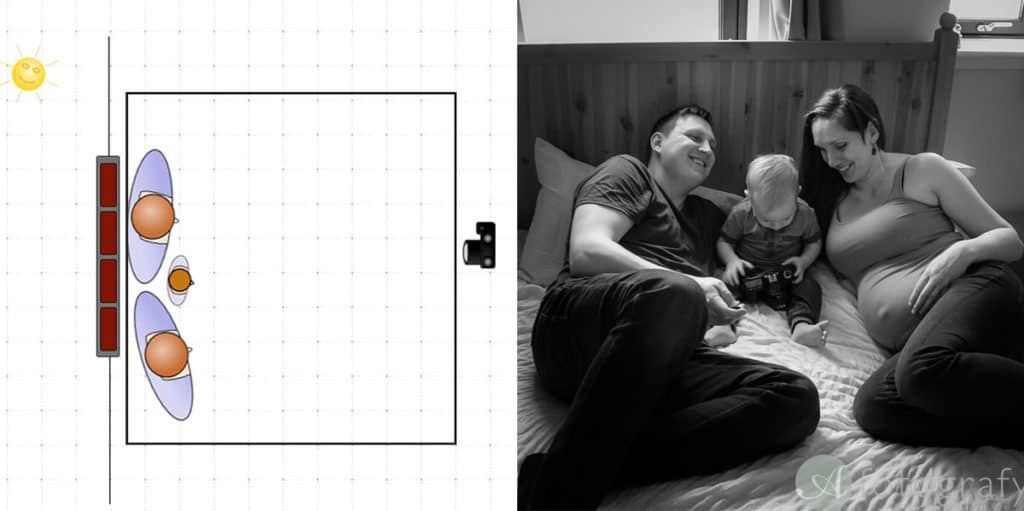
You will find some finished images with set-up diagrams to help you to replicate them. These should give you a good sense of where the photographer (your partner) should be and the setting we used
You can also check these guides.
What we will be covering today:
I want these ideas sheet to be very simple and basic. Nothing too fancy, no fancy lights, no fancy cameras, just a simple understanding of light and some basic camera settings. Everything its features will be something you can do at home.
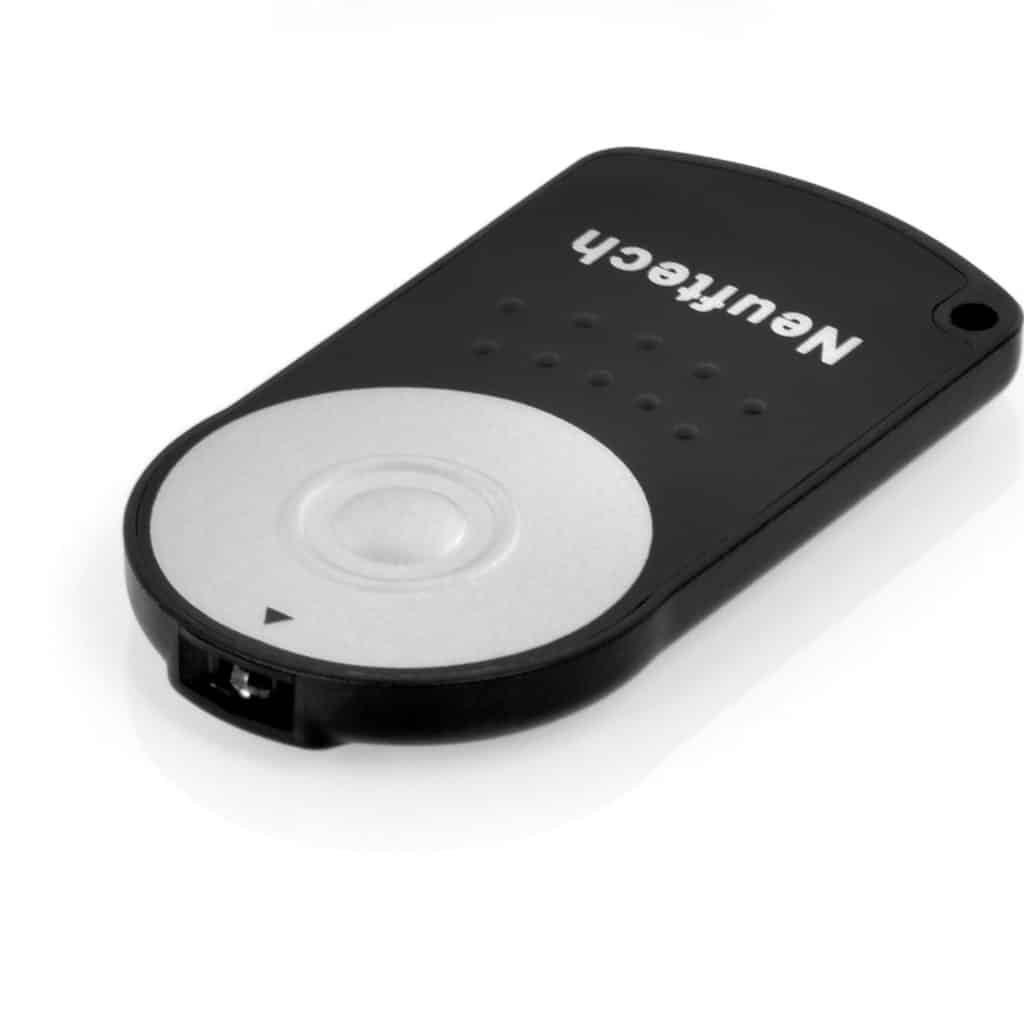
We will need a camera, daylight and (ideally) a tripod with a remote control to trigger the camera. If you have a simple “point and shoot” camera, then a self-timer will do.
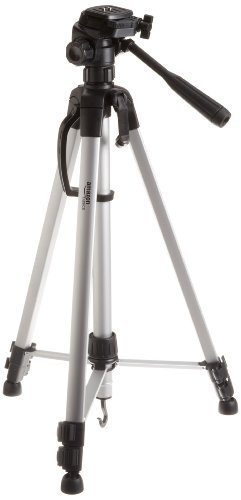
Basic Tripod. Amazon Link
Canon remote control. Amazon link.
I will talk you through some basic maternity poses, which are always a hit at my studio as well.
Let’s start.
1. Understanding light.
This is one of the most important aspects of maternity photography. If you have good quality light, you are already halfway there.
In this example, I took the photographs during winter time in Scotland. It was an overcast day and the light was pretty dark.
I’m really pleased with this, as the quality of light was pretty poor on the day and we used very basic camera settings. Basically, this could be your worst-case scenario light wise. There were small windows and one set of French doors. If you have a room brighter than that with larger windows, it will be much easier to achieve good exposure for images. Resulting in not so dark images like mine.
Saying that it is not necessarily easier if you have lots of light and you don’t know how to control it, especially if the sun is shining straight into the room.
Ideally, you’ll have daylight curtains and this will mean that the light will be more diffused and softer on your body. I like to say that this creates a more forgiving light.
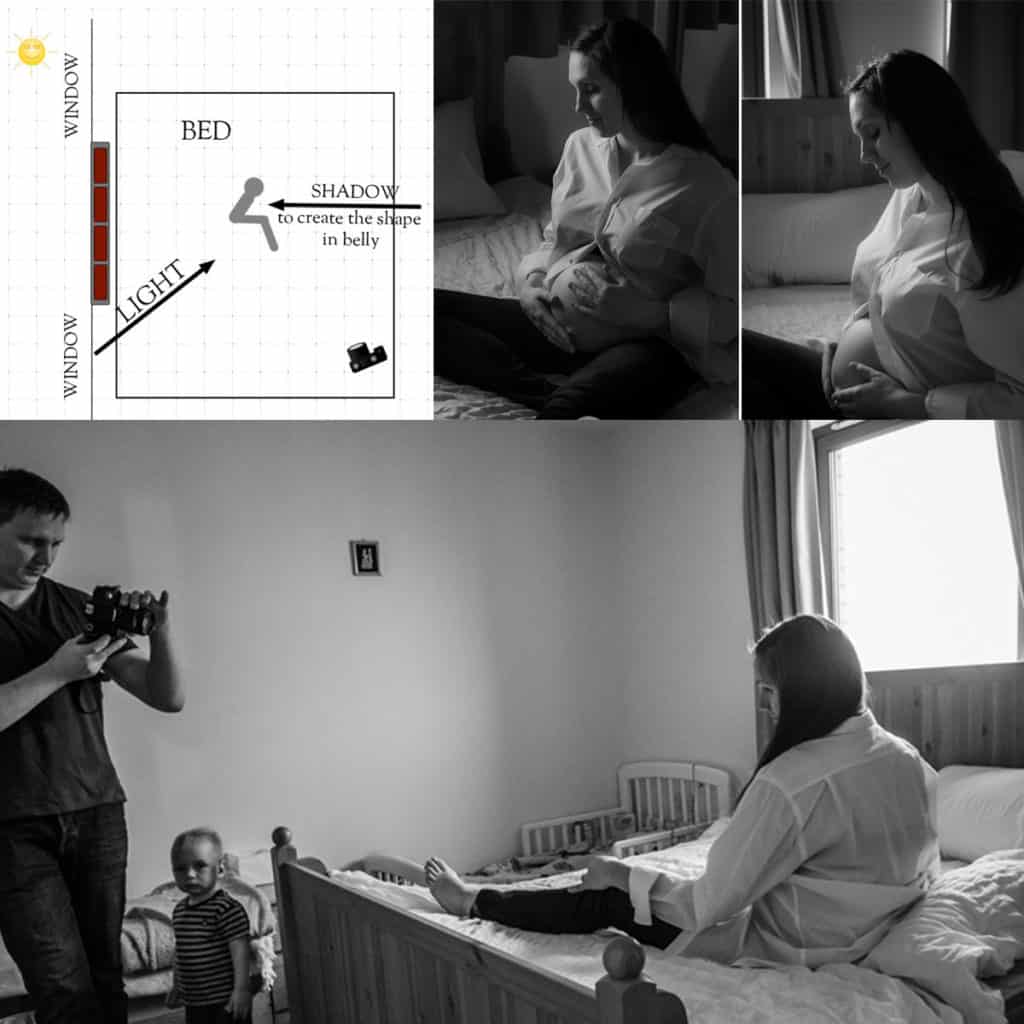
During pregnancy photography sessions, I never use a flat light but instead opt for 45 degrees, side-lit or backlit portraits. We need to show off your shape and correctly using the light will effectively show your belly. Flat light has no shape. It’s nice for your selfie portrait but doesn’t show the shape of your belly.
If you have a lot of light in the room you will have light portraits. If you’d prefer darker portraits, simply close the curtains and leave just a little gap to let the light come through.
In our case study, we wanted all the light we could get as it was pretty dark, especially in the bedroom.
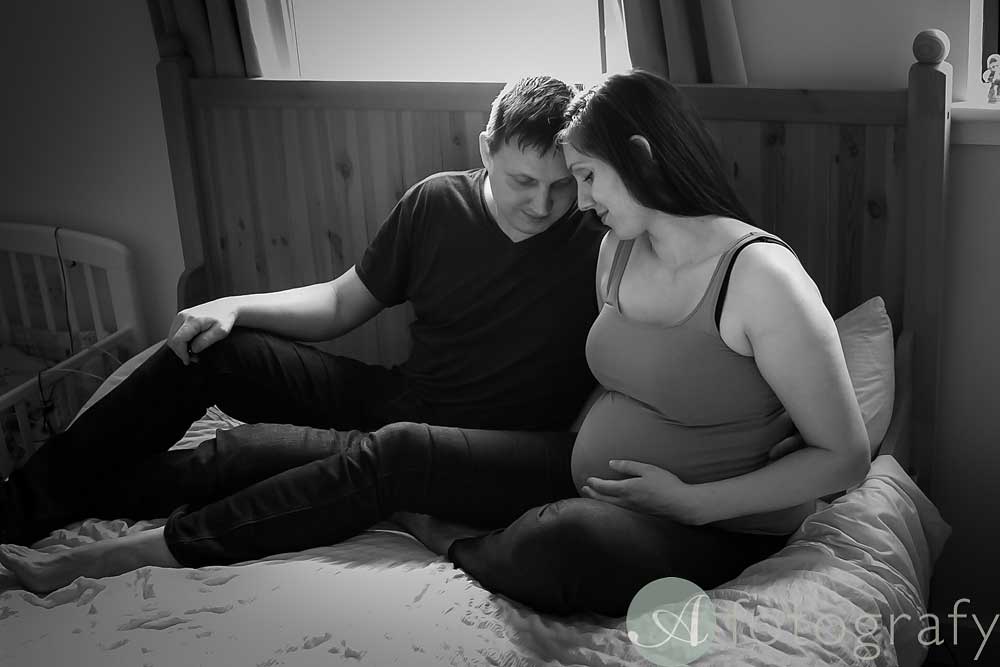
Our goal was to create some moody images. This is great if you are not that confident about your body and feel a bit shy. With this lighting effect, you can concentrate on your belly.
2. Remote control or self timer and tripod.
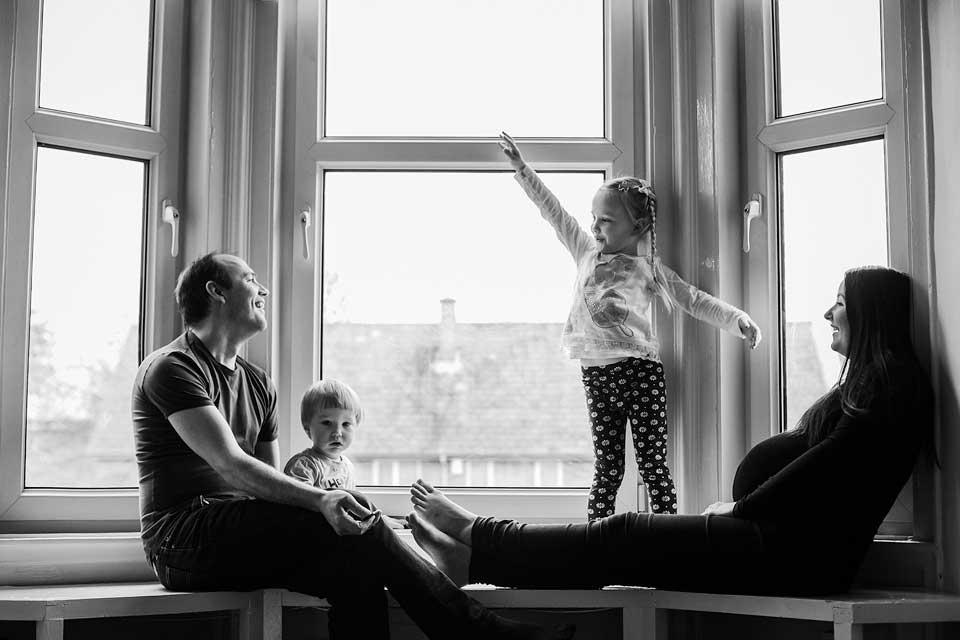
In this particular case, the family had a decent DSLR camera and we used a remote control to trigger the images. This makes life easier because you can take lots of photographs and have a wider choice of images. Not every camera has this function. Another option is to use a self timer function. This means a lot of running backwards and forwards to achieve that perfect shot. During this shoot, we had a toddler with us, so it made coordinating everyone and pressing the self timer button quite tricky.
Your partner can of course take the photos, but if he wants to feature in them, then a remote control would be useful. If you photograph with a “point and shoot”, then a self timer is likely to be your only option.
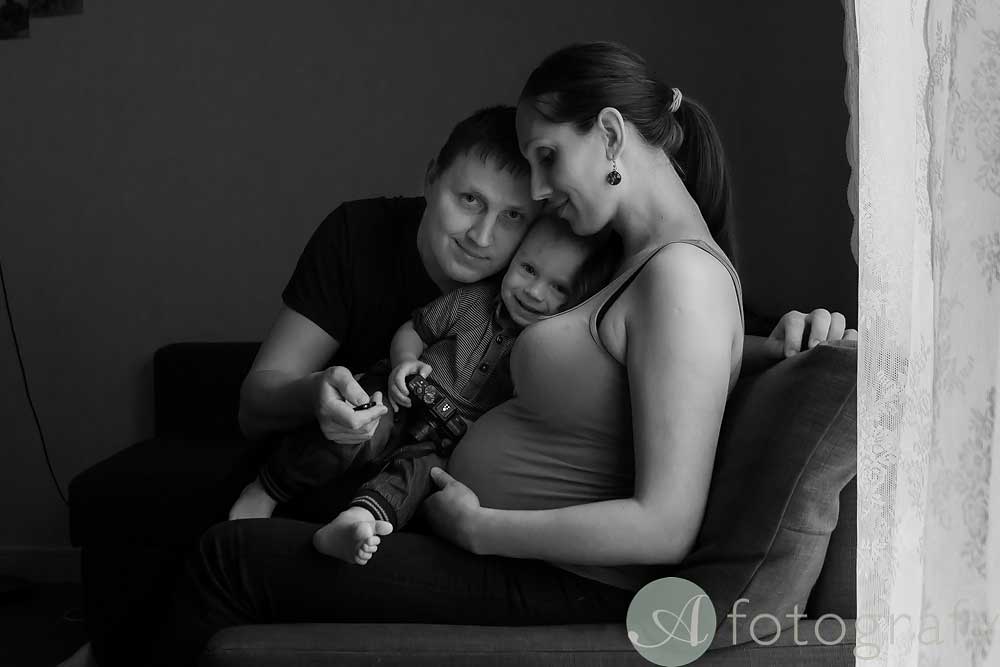
In this photo you can see the clicker in his hand, but at least the whole family is in the shot.
TIP:
Sit further away from the window. This way light will not be so harsh and overexpose your skin.
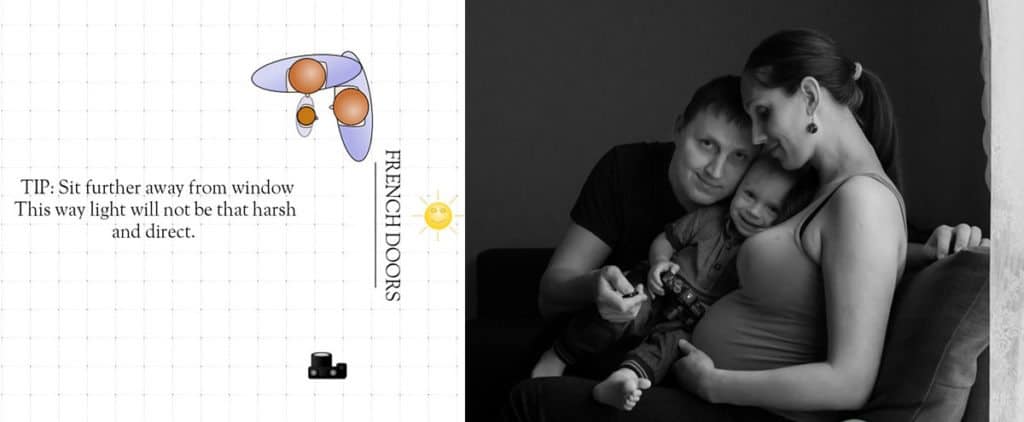
Here is our own pregnancy portrait we took with remote control.
You can see remote in my hand. This makes so much easier to do photos as kids move about and you can sit with them and keep creating portraits. Love more candid moment approach too.
3. Watch the background.
Make sure there is not too much clutter, clothes and weird shapes like chairs and lamps. Try to have as simple a background as possible.
In this particular example, we decided to do a few darker shots in an open plan living room. To have the best use of the light I put the kitchen in the background, which was definitely not good for the photo.
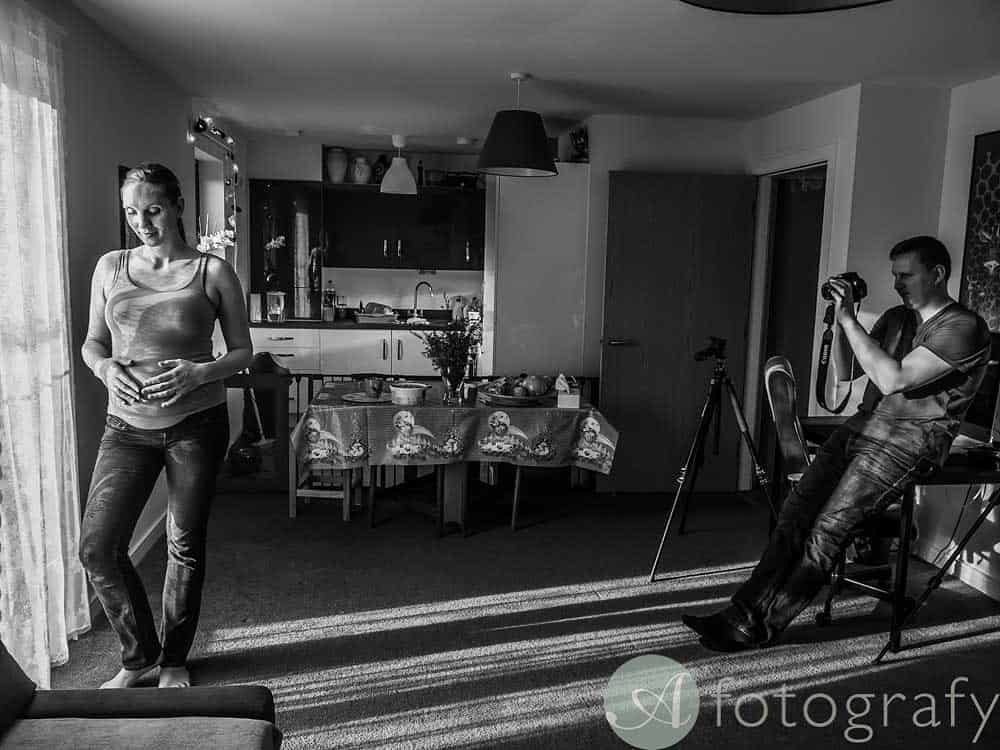
Instead, I noticed that there was a window behind, so I just closed the blinds to create this image. We need to get to the kitchen area as dark as possible.
In the final photo below I applied a strong vignette in post process and it was finished. If I wouldn’t close the window at the back, it would be too light and distracting background.
TIP:
Try to avoid photographing right next to the window. Again light might shine straight on your skin and it might be hard to balance light. Stand a little bit away from the window.
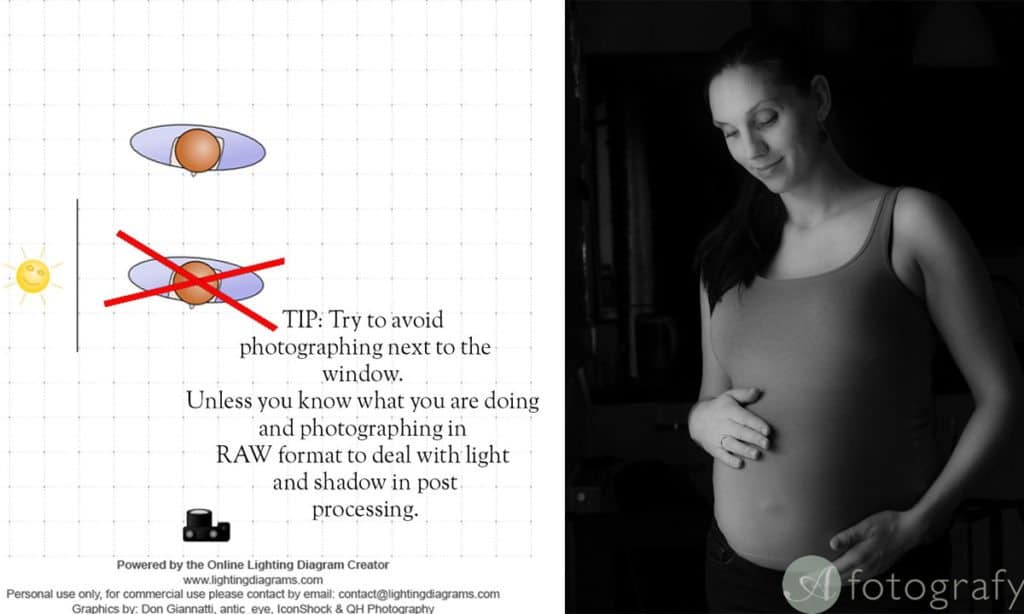
The reason why you don’t photograph next to the window during a sunny day is that light and shadow ratio is really high. You have a very bright side of the body and very dark another side of the body. Instead, move your body slightly away from the curtain. Follow where the light falls/direction.
4. If you don’t want to expose your belly, wear fitted clothing.
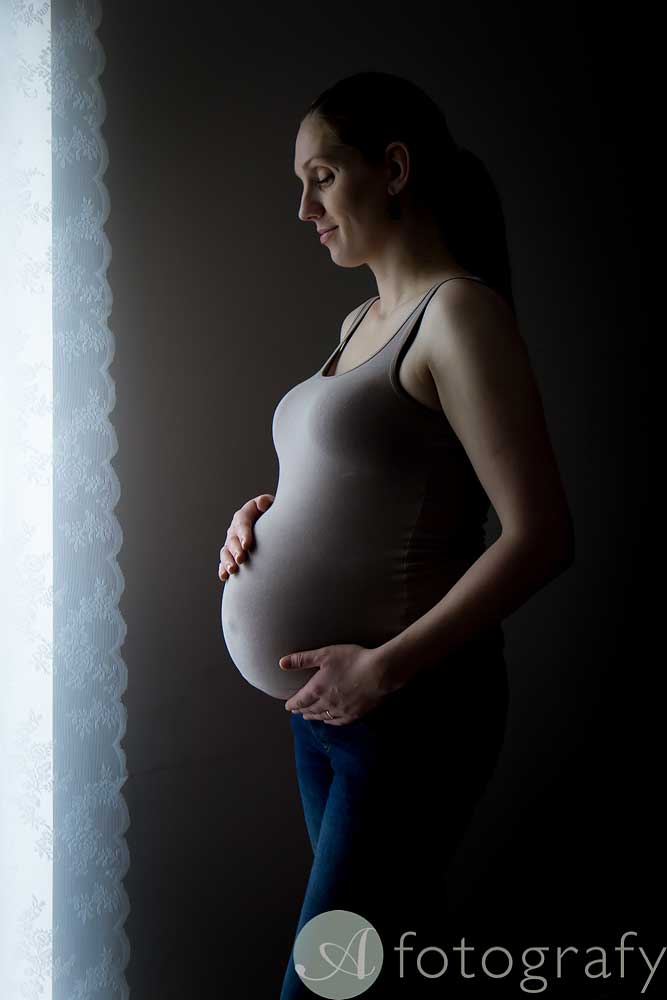
In this particular case, we didn’t do any shots with the mum’s belly exposed, as she wasn’t entirely comfortable with the idea. If you feel the same, then wear tank tops or maternity dresses, but try to avoid clothing with a lot of texture or wrinkles at the front.
TIP:
For flattering lighting, don’t stand straight in front of a window. Let the light wrap around you a bit. I have purposely left the edge of the window in this shot so you can see where it is, but by cropping this image we get a very nice maternity shot with lovely lighting to show off the mum-to-be’s tummy.
The top she is wearing creates very simple lines too. If you are unsure about photographing your arms or shoulders, cover them up with a plain scarf or perhaps a small poncho. Just make sure you can still see your belly.
5. Make a shot list.
This sounds very obvious, but preparation is your best friend. If you are prepared and know in advance what poses you will be photographing, you can decide what clothing you will wear in each image. These are two fewer things for you to worry about on the day. You will be playing with your camera and trying to get things right, so you won’t want to be thinking about your clothes.
Why not take a look on Pinterest for some ideas.
TIP: Camera Settings.
Camera settings: In this particular case I didn’t want the family to fiddle too much with the settings and manual functions on their camera. If you have no idea how your camera works, then here’s my advice for both DSLR and “point and shoot” cameras.
– Set the image quality at the highest setting. This will ensure that you have the maximum amount of data to work with when you edit the images. If you know a bit more about photography then the RAW format will work for you, but for now, let’s stick with the simple JPEG format.
– Put the camera into the auto setting. Yes, you heard me right: AUTO. These days cameras are pretty clever when it comes to determining exposure and colour temperature.
– To adjust the exposure of the image, I always recommend going by something called exposure compensation where you can underexpose or overexpose images by 2 stops. For most of this particular project, I used the -1 (minus one ) setting as I wanted the highlights to be retained and image slightly darker. This is especially true when using the JPEG image setting. Only backlit images were set to +2 to overexpose the window.
6. Make up and Hair.
It sounds very obvious, right? But for lots of mums-to-be, make-up and hair isn’t top of their “to do” list. For the sake of making your life easier when you’re editing your images, and to feel pleased with the results, bear in mind that it’s worth applying a little natural make up and fixing your hair.
This will also help you to feel that these photographs are marking a special occasion.
7. Plan your session around 6-8 weeks before due date.
Your belly will grow and you will feel heavier every day and also less willing to do anything. I tend to photograph maternity sessions now around 8 weeks before due date. The belly is nice, but not massive and mums feel more willing to do poses and experiment with ideas.
Ideas on some poses and set ups at home.
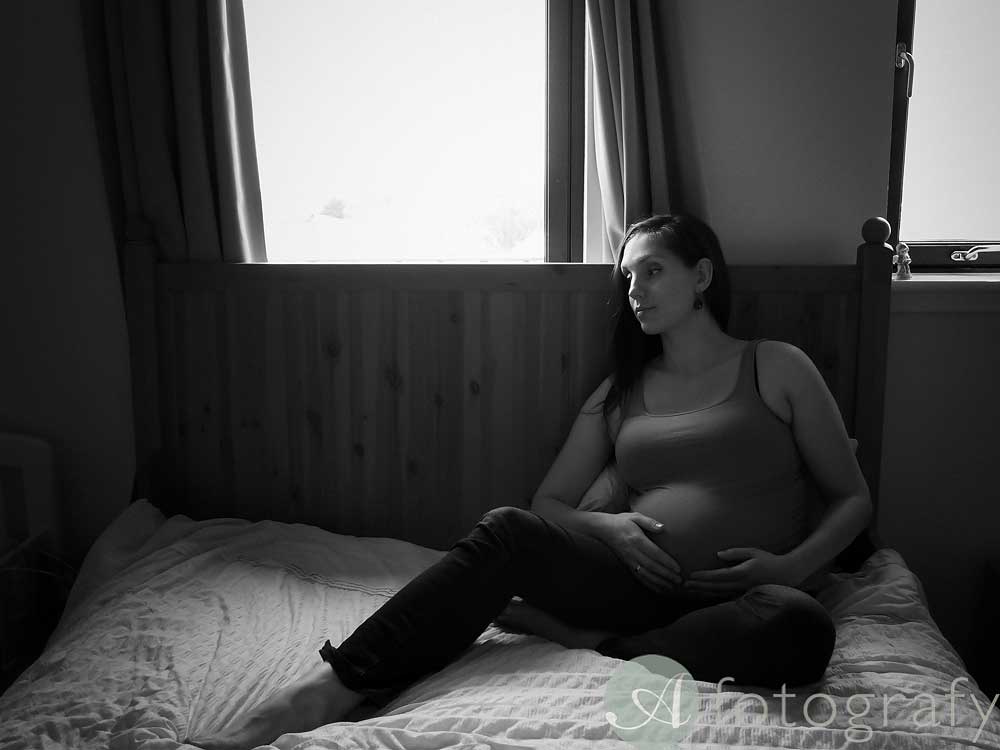
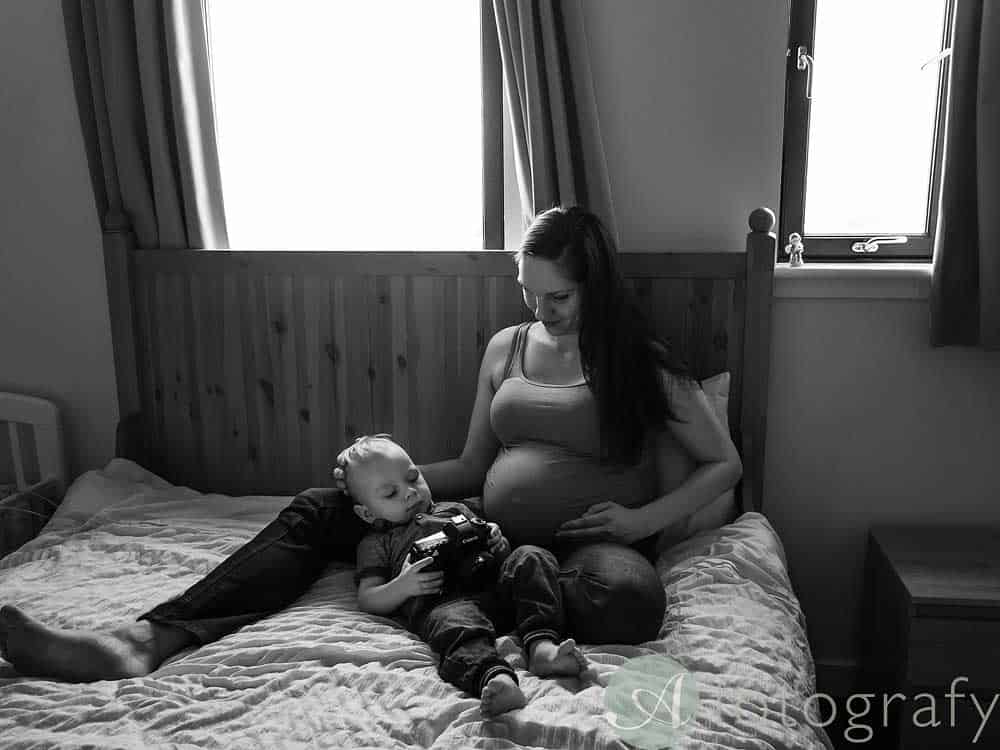
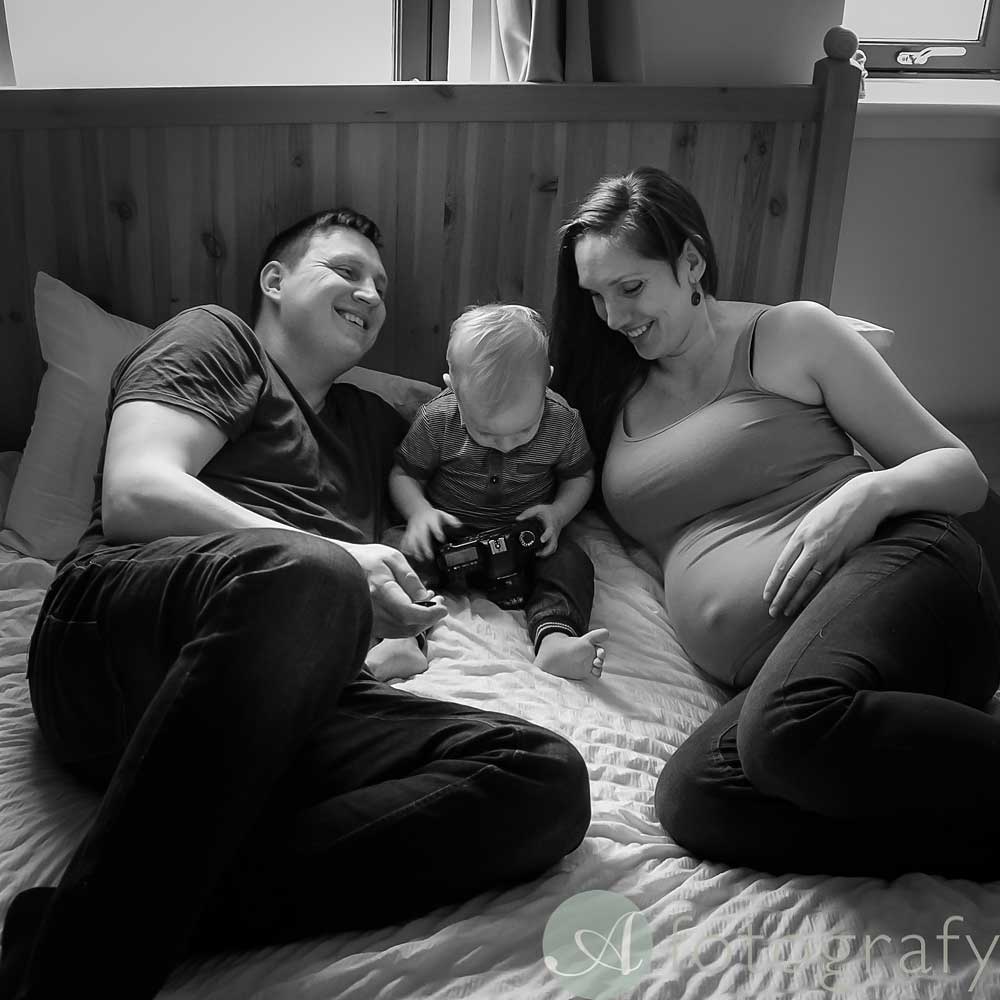
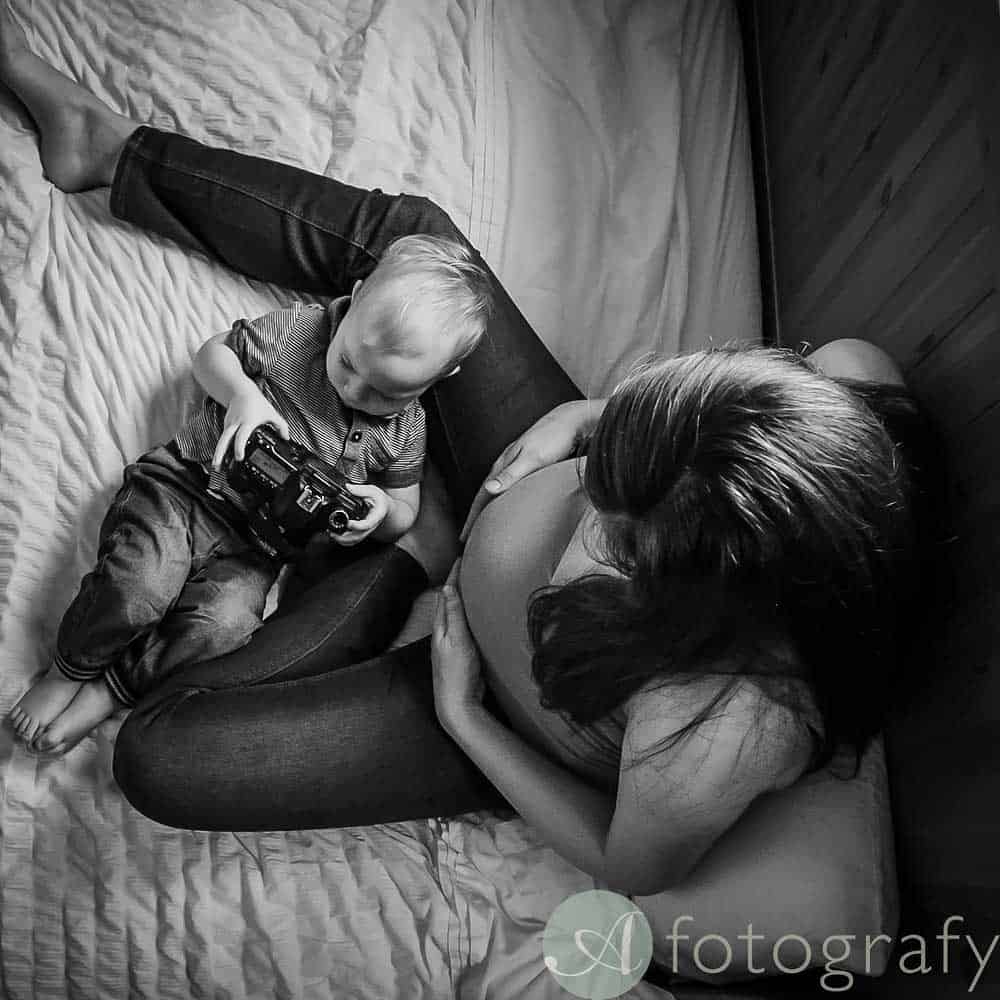
Here I wanted to photograph both the child and the family altogether in a bedroom. The toddler really loved the camera so I gave him mine to keep him entertained. To keep a toddler’s attention is a whole other class!
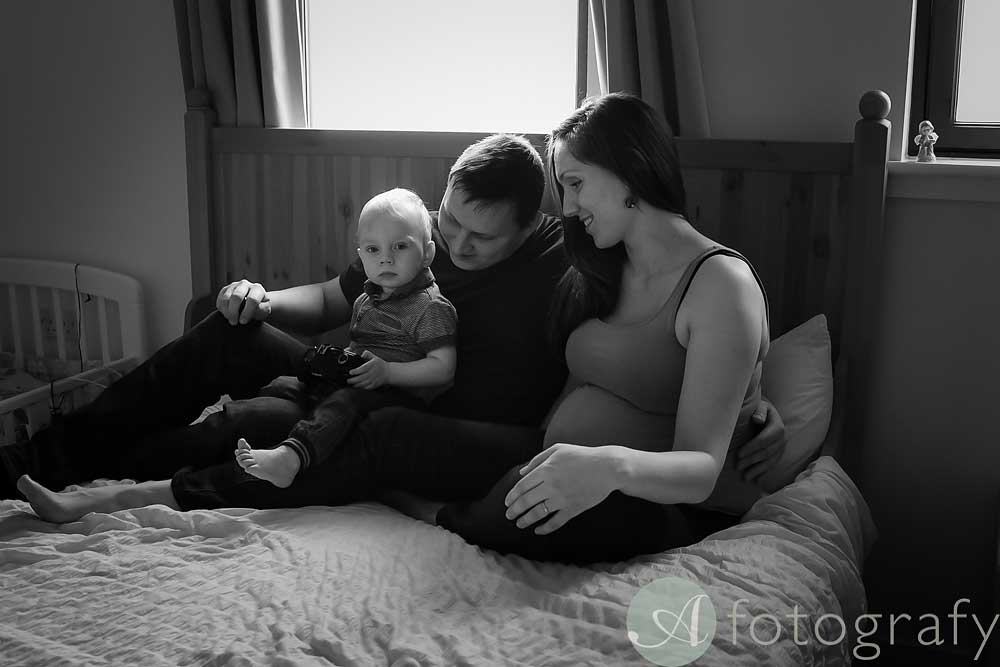
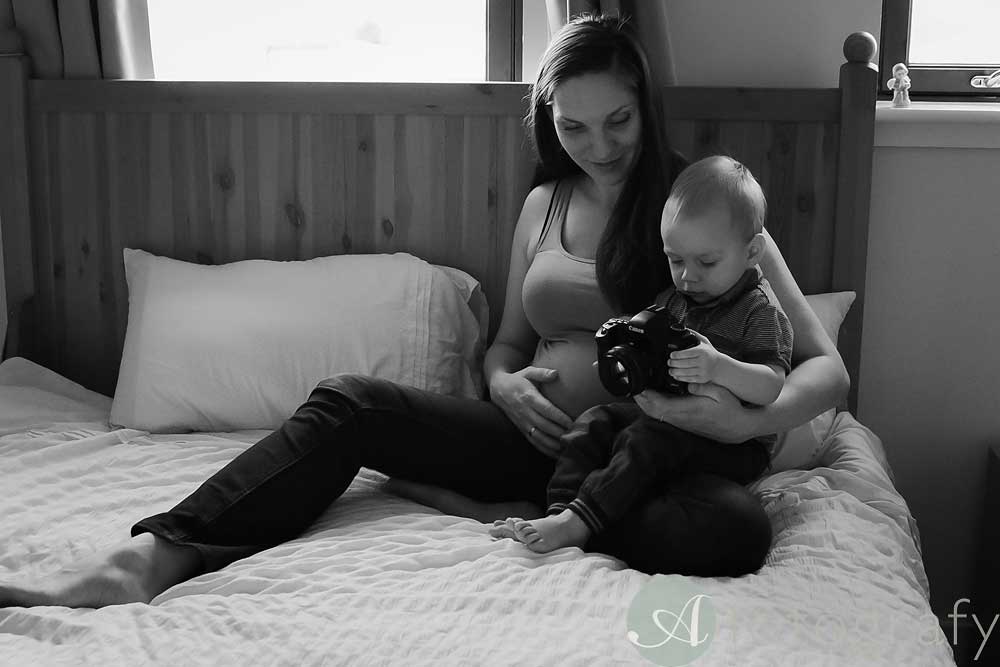
TIP: Take as many photos as you can. As a professional photographer, I tweak everything until I’m happy and then I start shooting. For you, I would recommend that you take more photographs with lots of variations so that you have more choices later. I always say it doesn’t cost you anything to take more images. You will just spend longer choosing the ones you like.
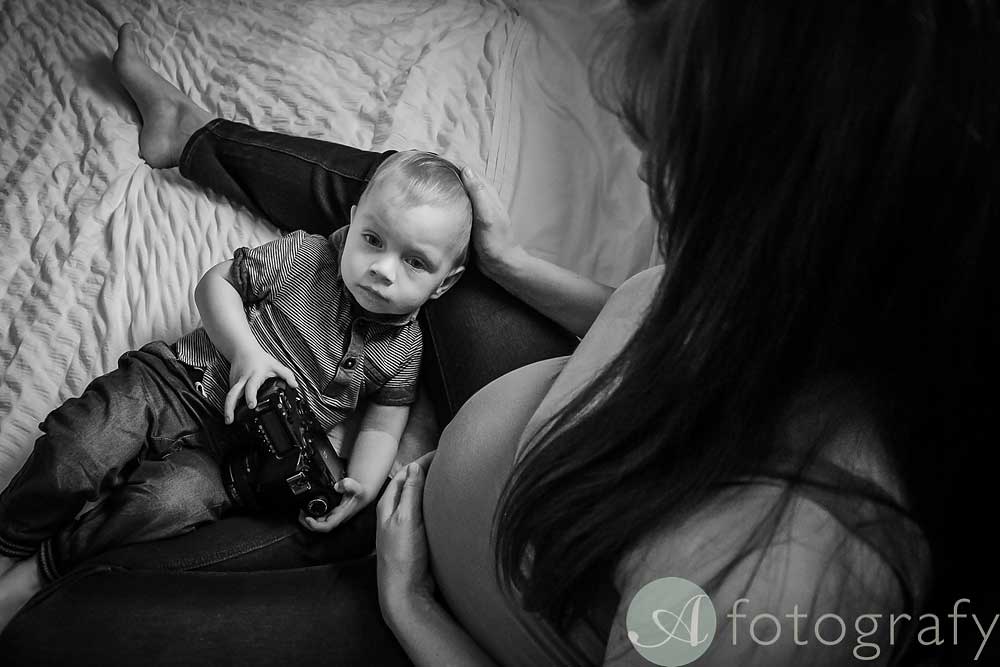
Try different angles.
Try to photograph from above too. It’s not easy, but sometimes it can result in some nice images which will show your belly well from an unusual angle.
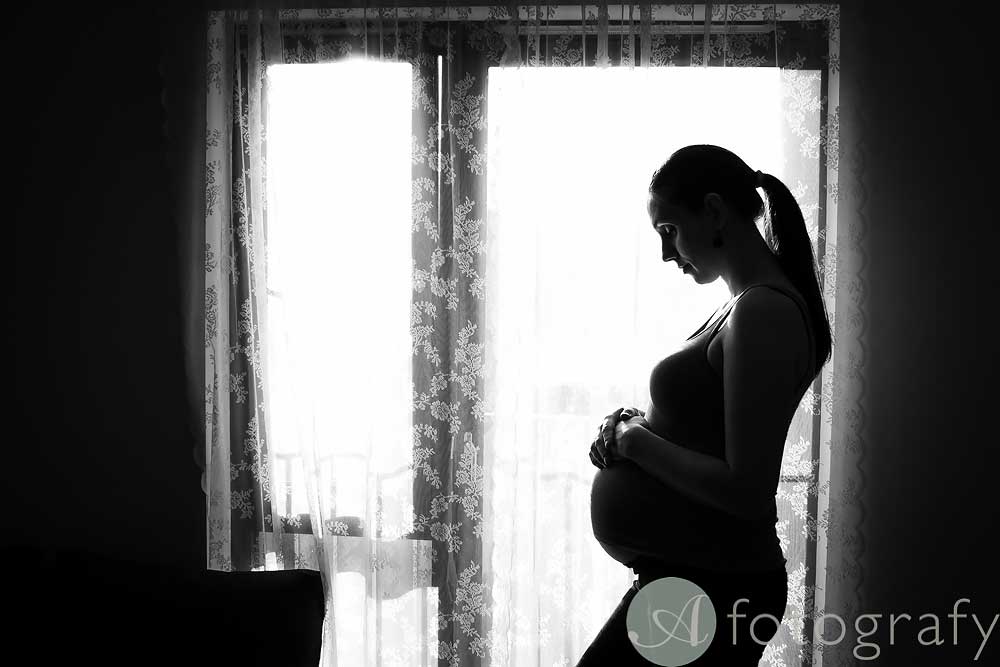
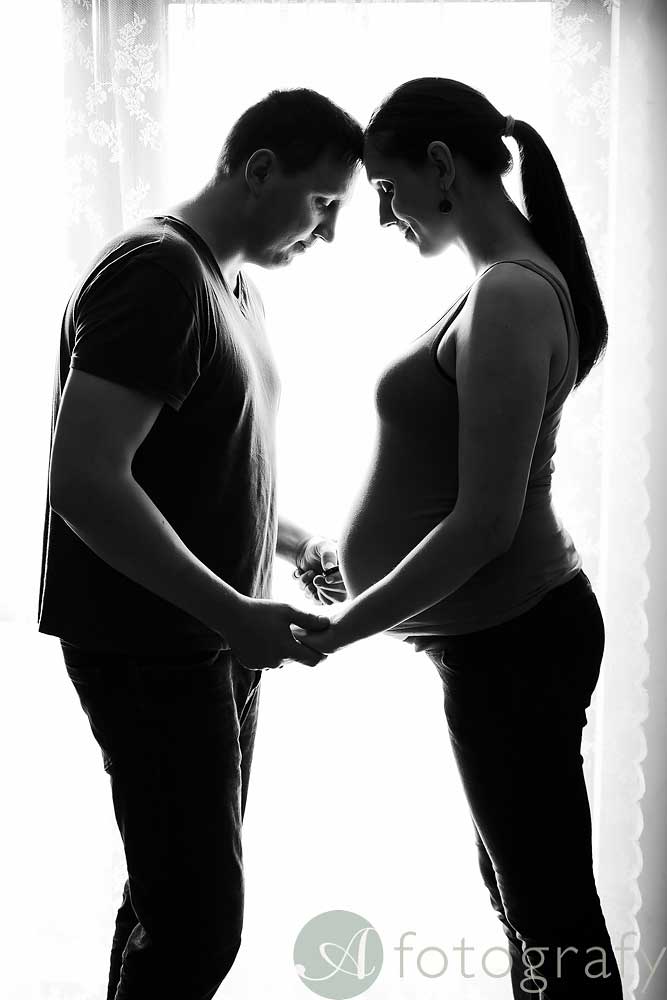
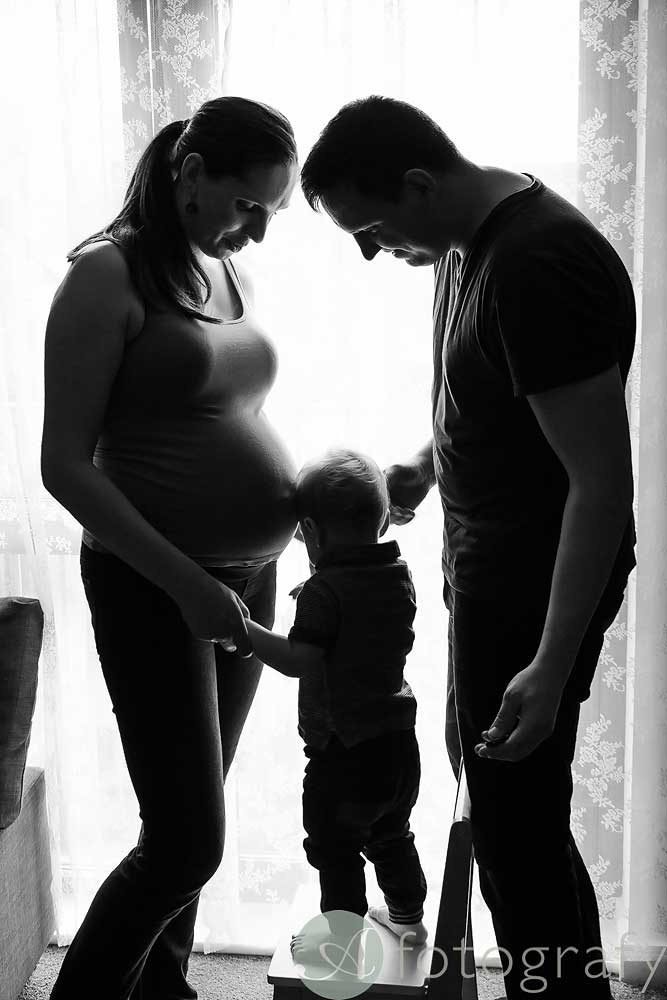
Play with creating silhouette images.
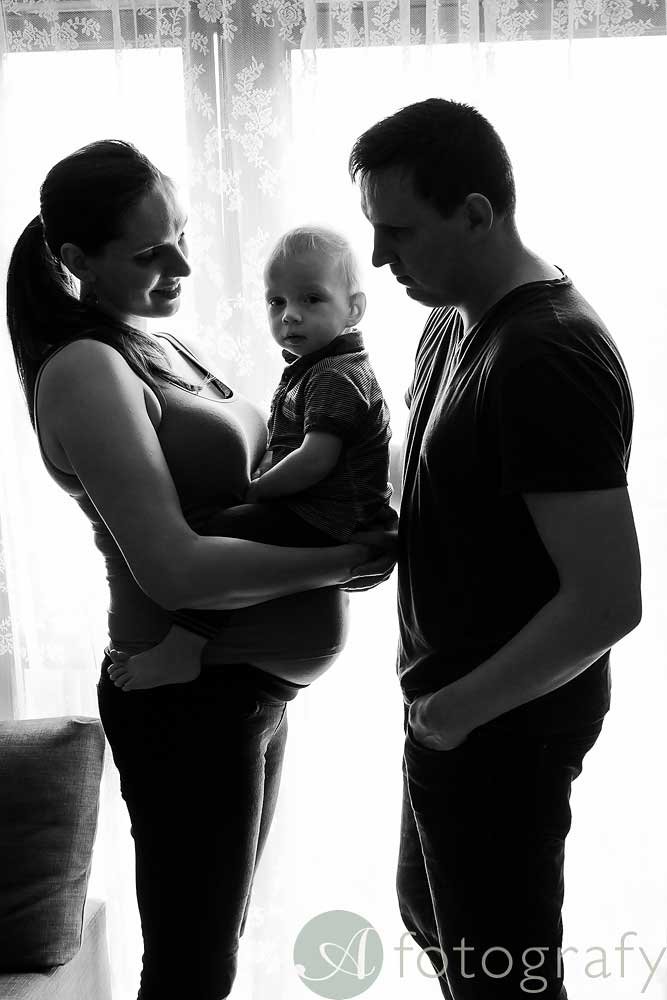
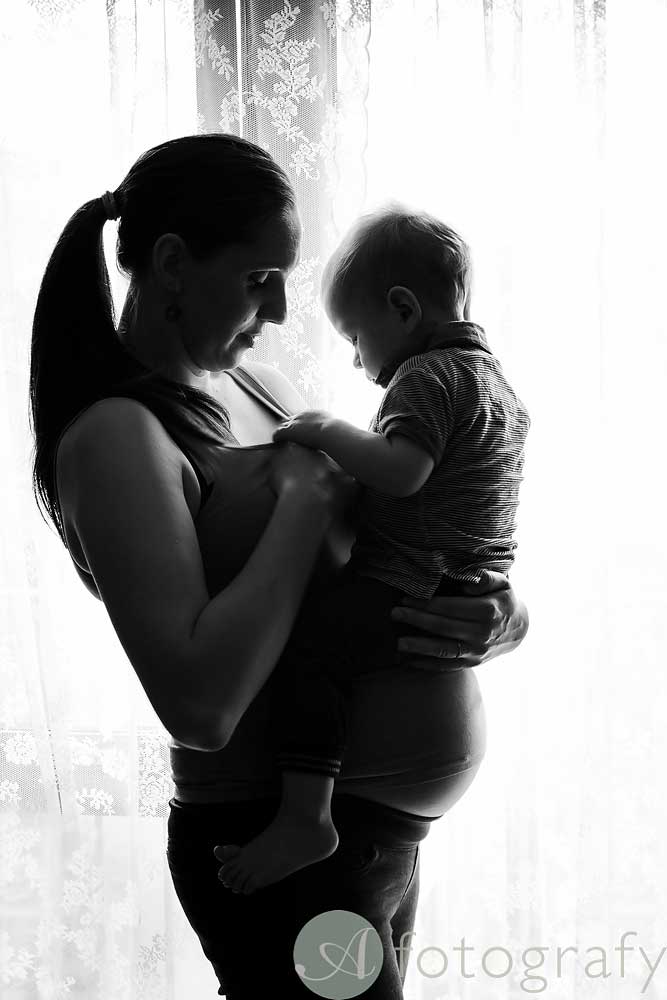
One of the most popular ideas you can do at home is to create silhouette images. These can feature either the mum-to-be alone, couples or the whole family.
TIP:
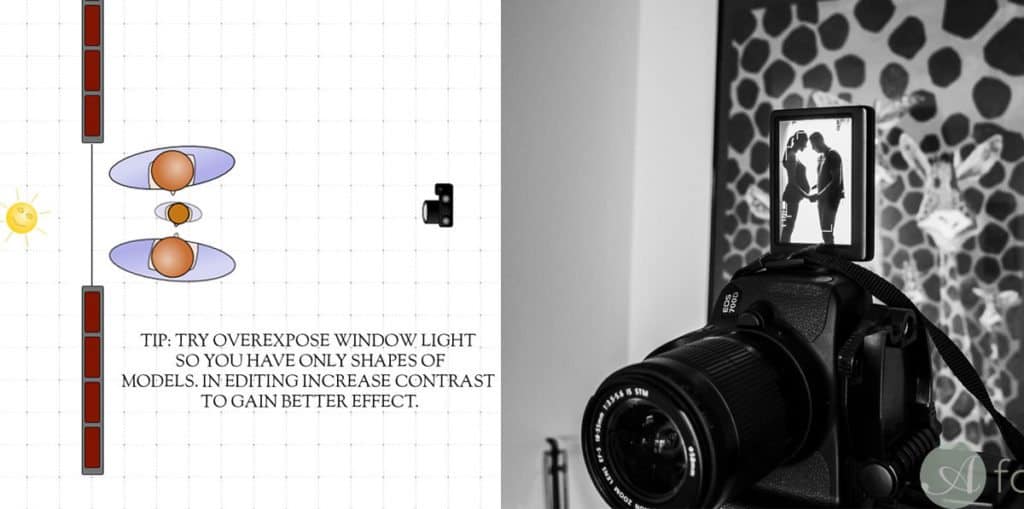
This is one of the situations where you’ll want to set your camera’s exposure compensation to +2. This will brighten up the window and create a silhouette effect for you. It’s easiest to take this type of photo when it’s very bright outside.
On the sofa.
There are different poses on a sofa that you can use for maternity photographs. Move the sofa in front of a window for a nicer light, get the whole family on the sofa and cuddle up. Whatever you do, make sure that your bump is very visible. This is the purpose of the session, after all.
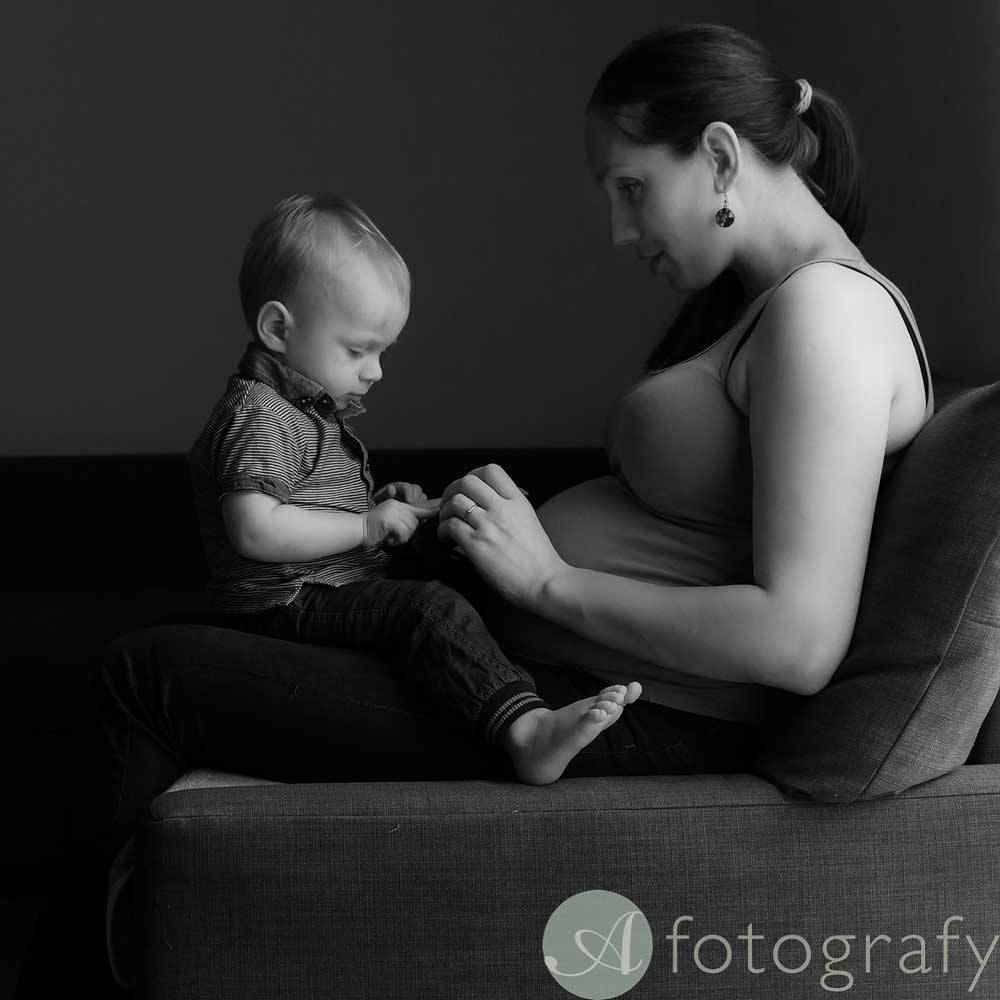
This particular family had some photographs taken next to a window, and I was keen to try some darker images too. I suggested involving their toddler, and it was easiest to sit him on his mum’s lap, where he could talk and interact with her. Try getting your toddler to read a book, play with your belly and generally keep him or her busy.
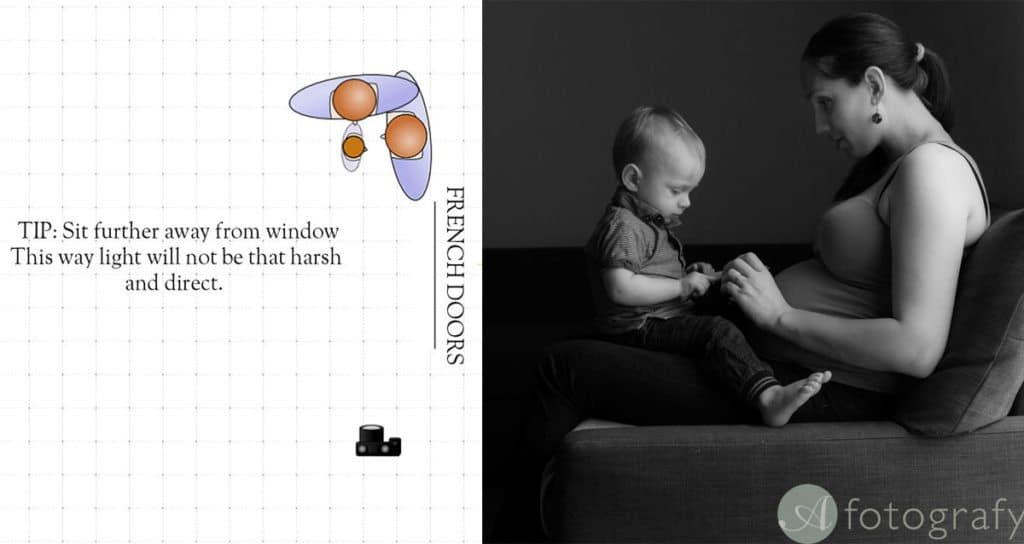
TIP: If you have lots of space, please step away as far as you can and zoom into your subject. This is called background compression. I always do this during home sessions to avoid unwanted objects and to concentrate on the subjects I am photographing.
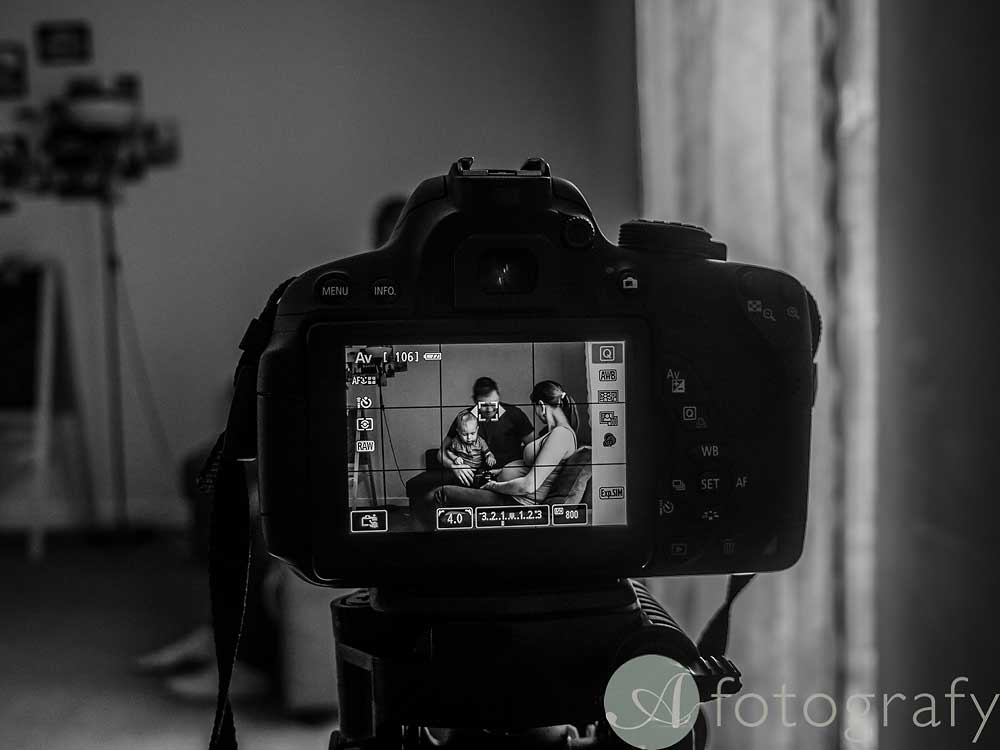
In this case, I had to avoid photographing objects on the wall, so I decided to place the camera further away and zoom in on the subjects.
Of course, DIY projects are not for everyone. If you managed to get beautiful photos, then a big hurray!!! for you. However, if you stay in Edinburgh and would like beautiful maternity portraits, please have a look at my maternity photography gallery.

I’m an Edinburgh based portrait photographer who specialises in maternity, newborn and family photography. I love to come up with new projects and ideas to help my community and share my knowledge.
Special thanks to my friends who were willing to pose for me and learn something new.
I hope this will help you to create some fantastic maternity images by yourself in your own home environment.
Thank you for reading and feel free to share it with your expectant friends.
Regards,
Armands

